To create an Apache-based web server, using a common Ubuntu or Debian machine, proceed as follows.
1. Install Apache
sudo apt-get update
sudo apt-get install apache2
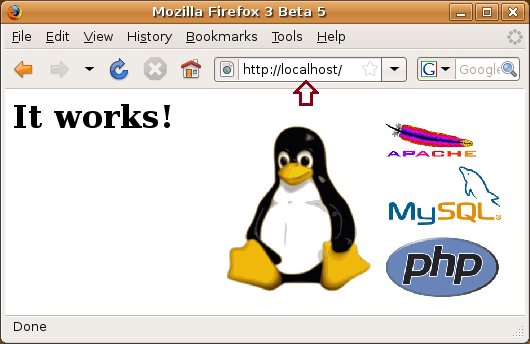
To check if it’s correctly installed, go to the site
localhost
you should find ‘It works!
2. Configuration
All configuration files can be found in
"/etc/apache2"
this can be displayed via terminal with
cd /etc/apache2

ls -F
You will see
apache2.conf    envvars       magic             mods-enabled/     sites-available/

conf.d/         httpd.conf    mods-available/   ports.conf        sites-enabled/
among which, you’d find the most important:
apache2.conf: for the webserver configuration

sites-available/: embracing the virtual hosts
3. Add the site files to be displayed
How to include your php (or html) files so that you can expose them to Apache, place them in the folder:
/var/www
Note
The folder needs root permissions to be modified.
You can (but not recommended) modify these permissions with the command:
sudo chown <user> /var/www
where instead of <user> you will have to enter your user name (this command should also apply to all default files inside).
In this way you can copy directly from Nautilus.
To copy files from the terminal, without changing the permissions of the aforementioned folder (recommended for security reasons), the command is as follows:
sudo cp <file to copy> /var/www